

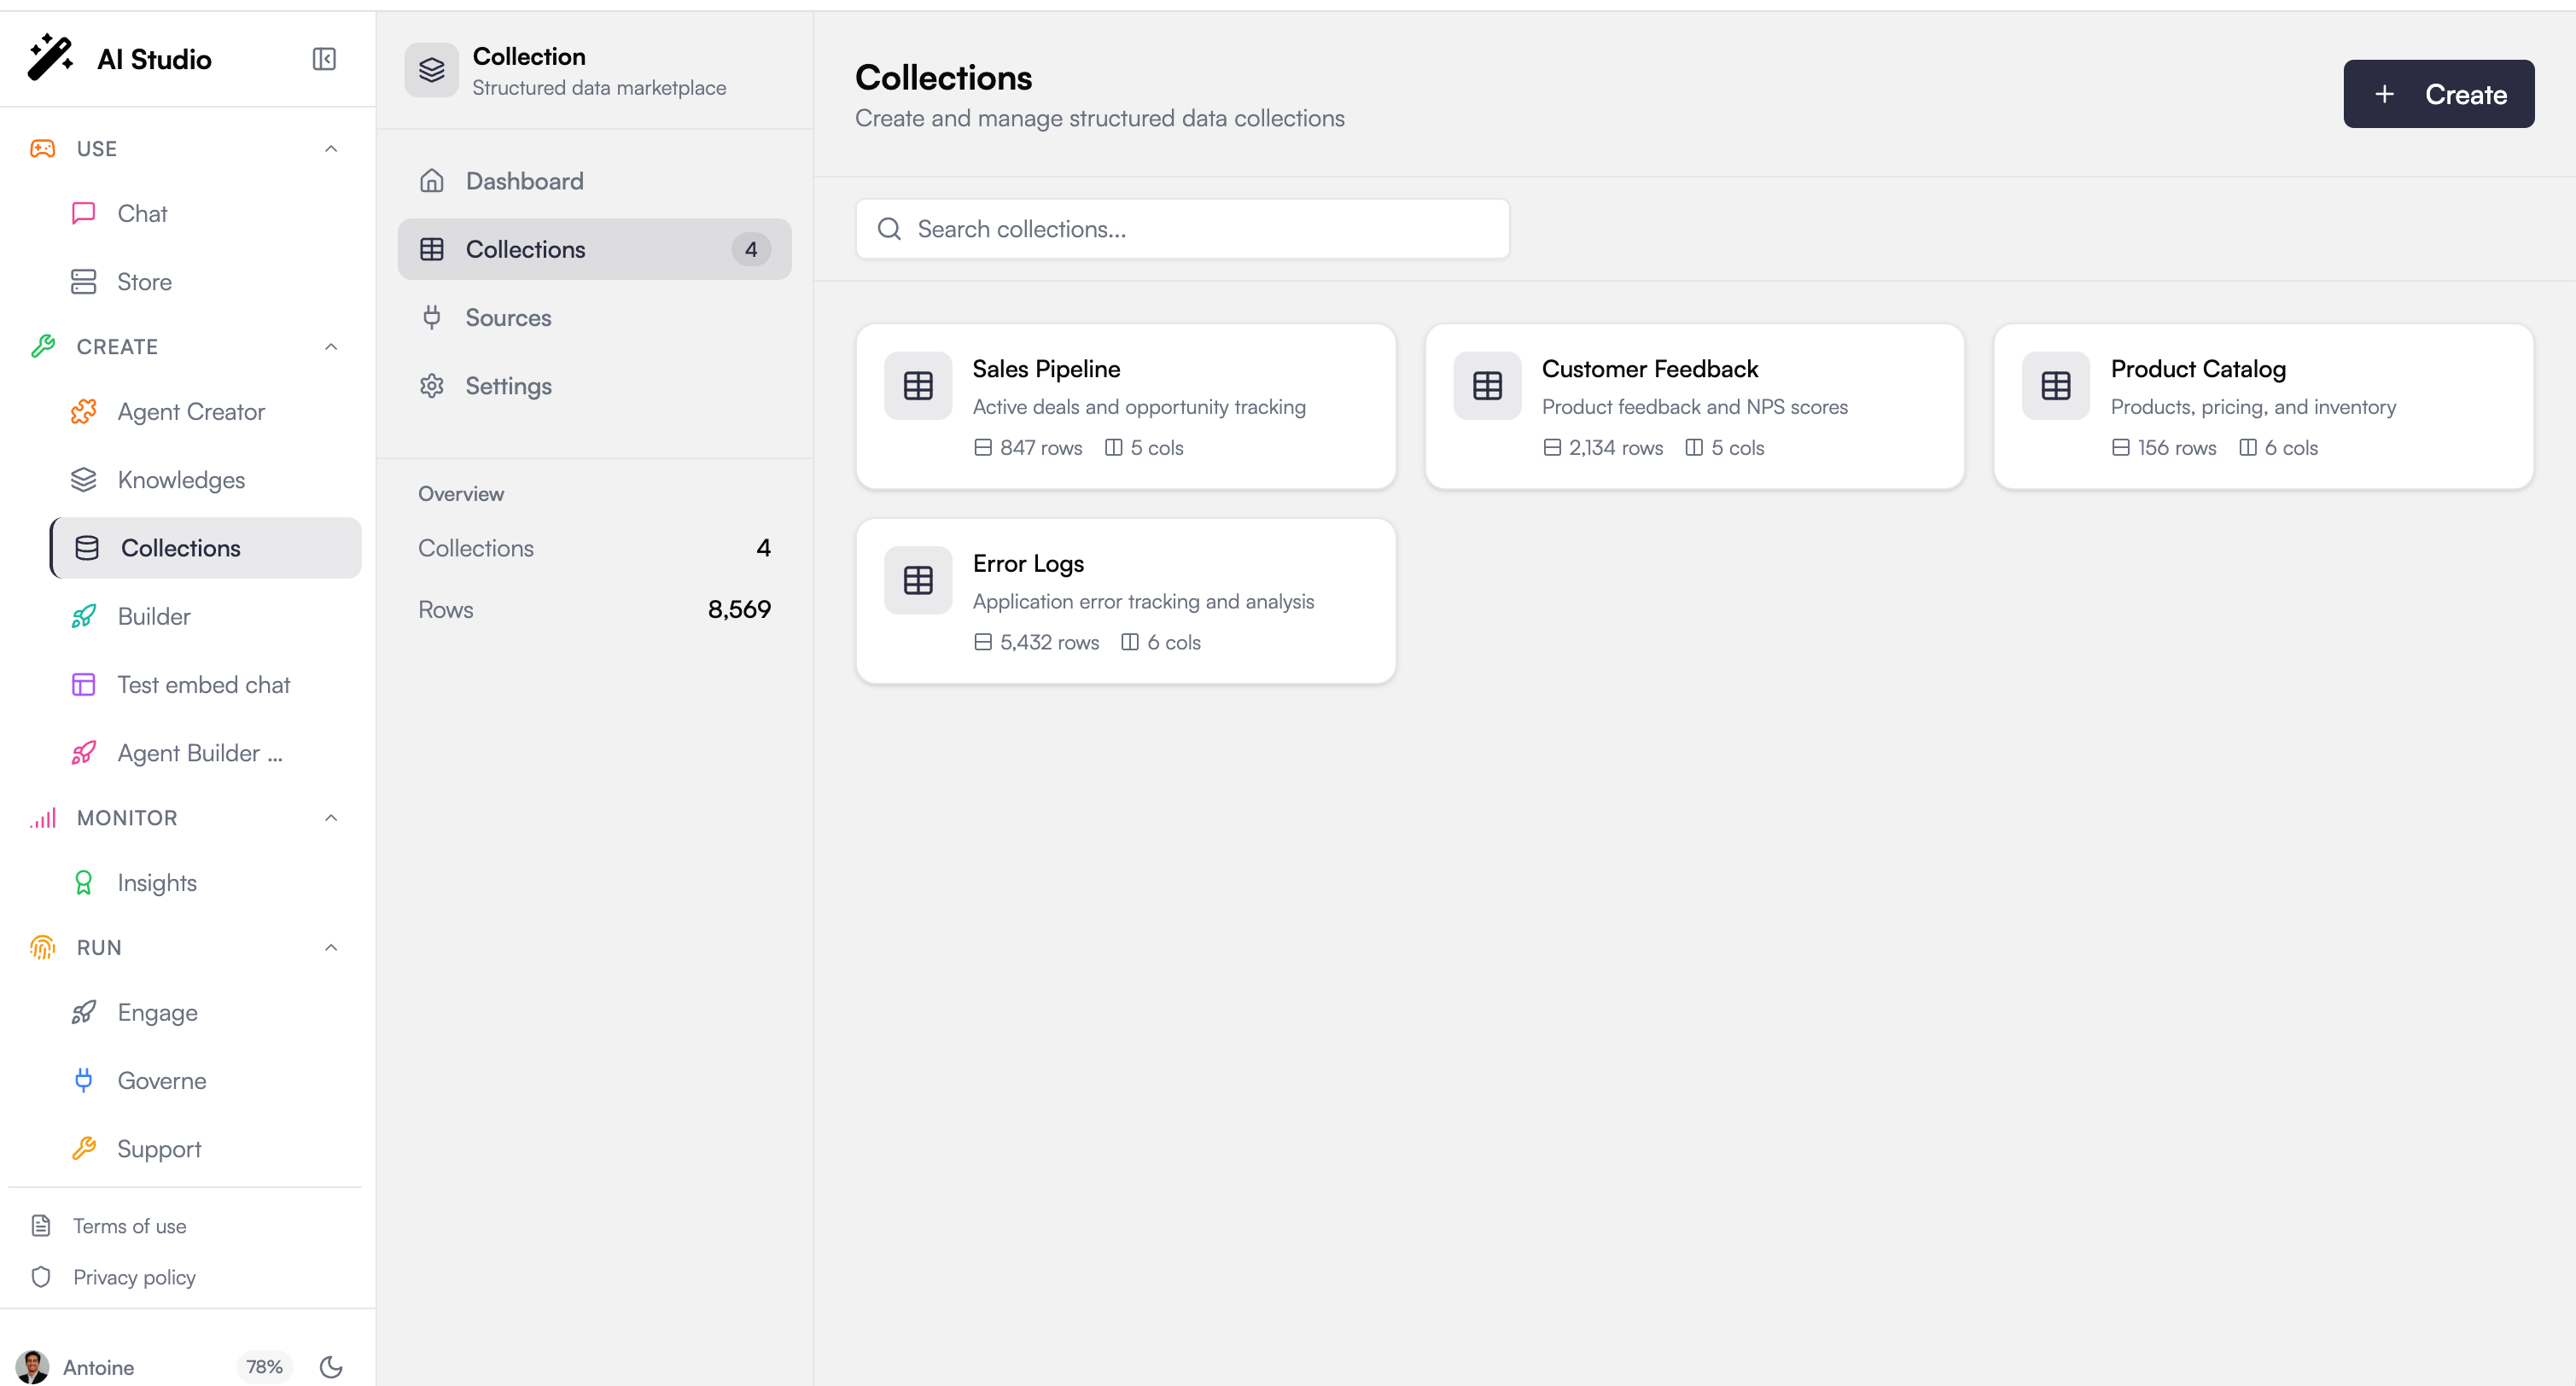
The Dashboard
The Dashboard gives you a quick health check before diving into a specific collection:- Collections: how many collections you own or have access to
- Total Rows: the combined number of records across your collections
Viewing Collections
Each collection appears as a card showing:- Its name and description
- The number of rows and columns
- The agents linked to it, when applicable
Creating a Collection
A collection always has a schema (at least one typed column), so there is no truly empty collection. You start from one of three paths, each ending on an editable schema you confirm before creating.1
Open the creation form
Click New Collection (from the Dashboard) or Create (from the Collections page).
2
Choose how to start
- Describe it with AI: type what you want to track; AI proposes the columns
- Start from a template: pick a ready-made structure (Sales CRM, Tasks, Products, Feedback, Leads, Logs)
- Import a CSV: upload a file and detect the schema automatically (see Importing Data)
3
Review the schema
Name the collection, then review the columns in the editor: rename them, change types, mark which are required, and (optionally) flag columns to index or make unique. A live preview shows the resulting table.
4
Create
Click Create. Your collection appears in the list, ready to use. For CSV imports, rows are loaded in the background with a progress bar.
Opening a Collection
Click any collection card to open its detail page. The header shows the name, description, and size (X rows • Y columns), and the content is organized in tabs:Deleting
Deleting a Collection
Deletion lives on the collection’s Settings tab (the collection cards no longer have a delete action).1
Open the collection's Settings tab
Open the collection, then go to the Settings tab and find the Danger zone.
2
Confirm by typing
Click Delete collection, then type the confirmation word (delete) in the dialog and confirm. This prevents accidental deletions.
Deleting Records
To remove individual rows without deleting the collection, select them in the Data tab and use the Delete action; see Working with Data.Settings
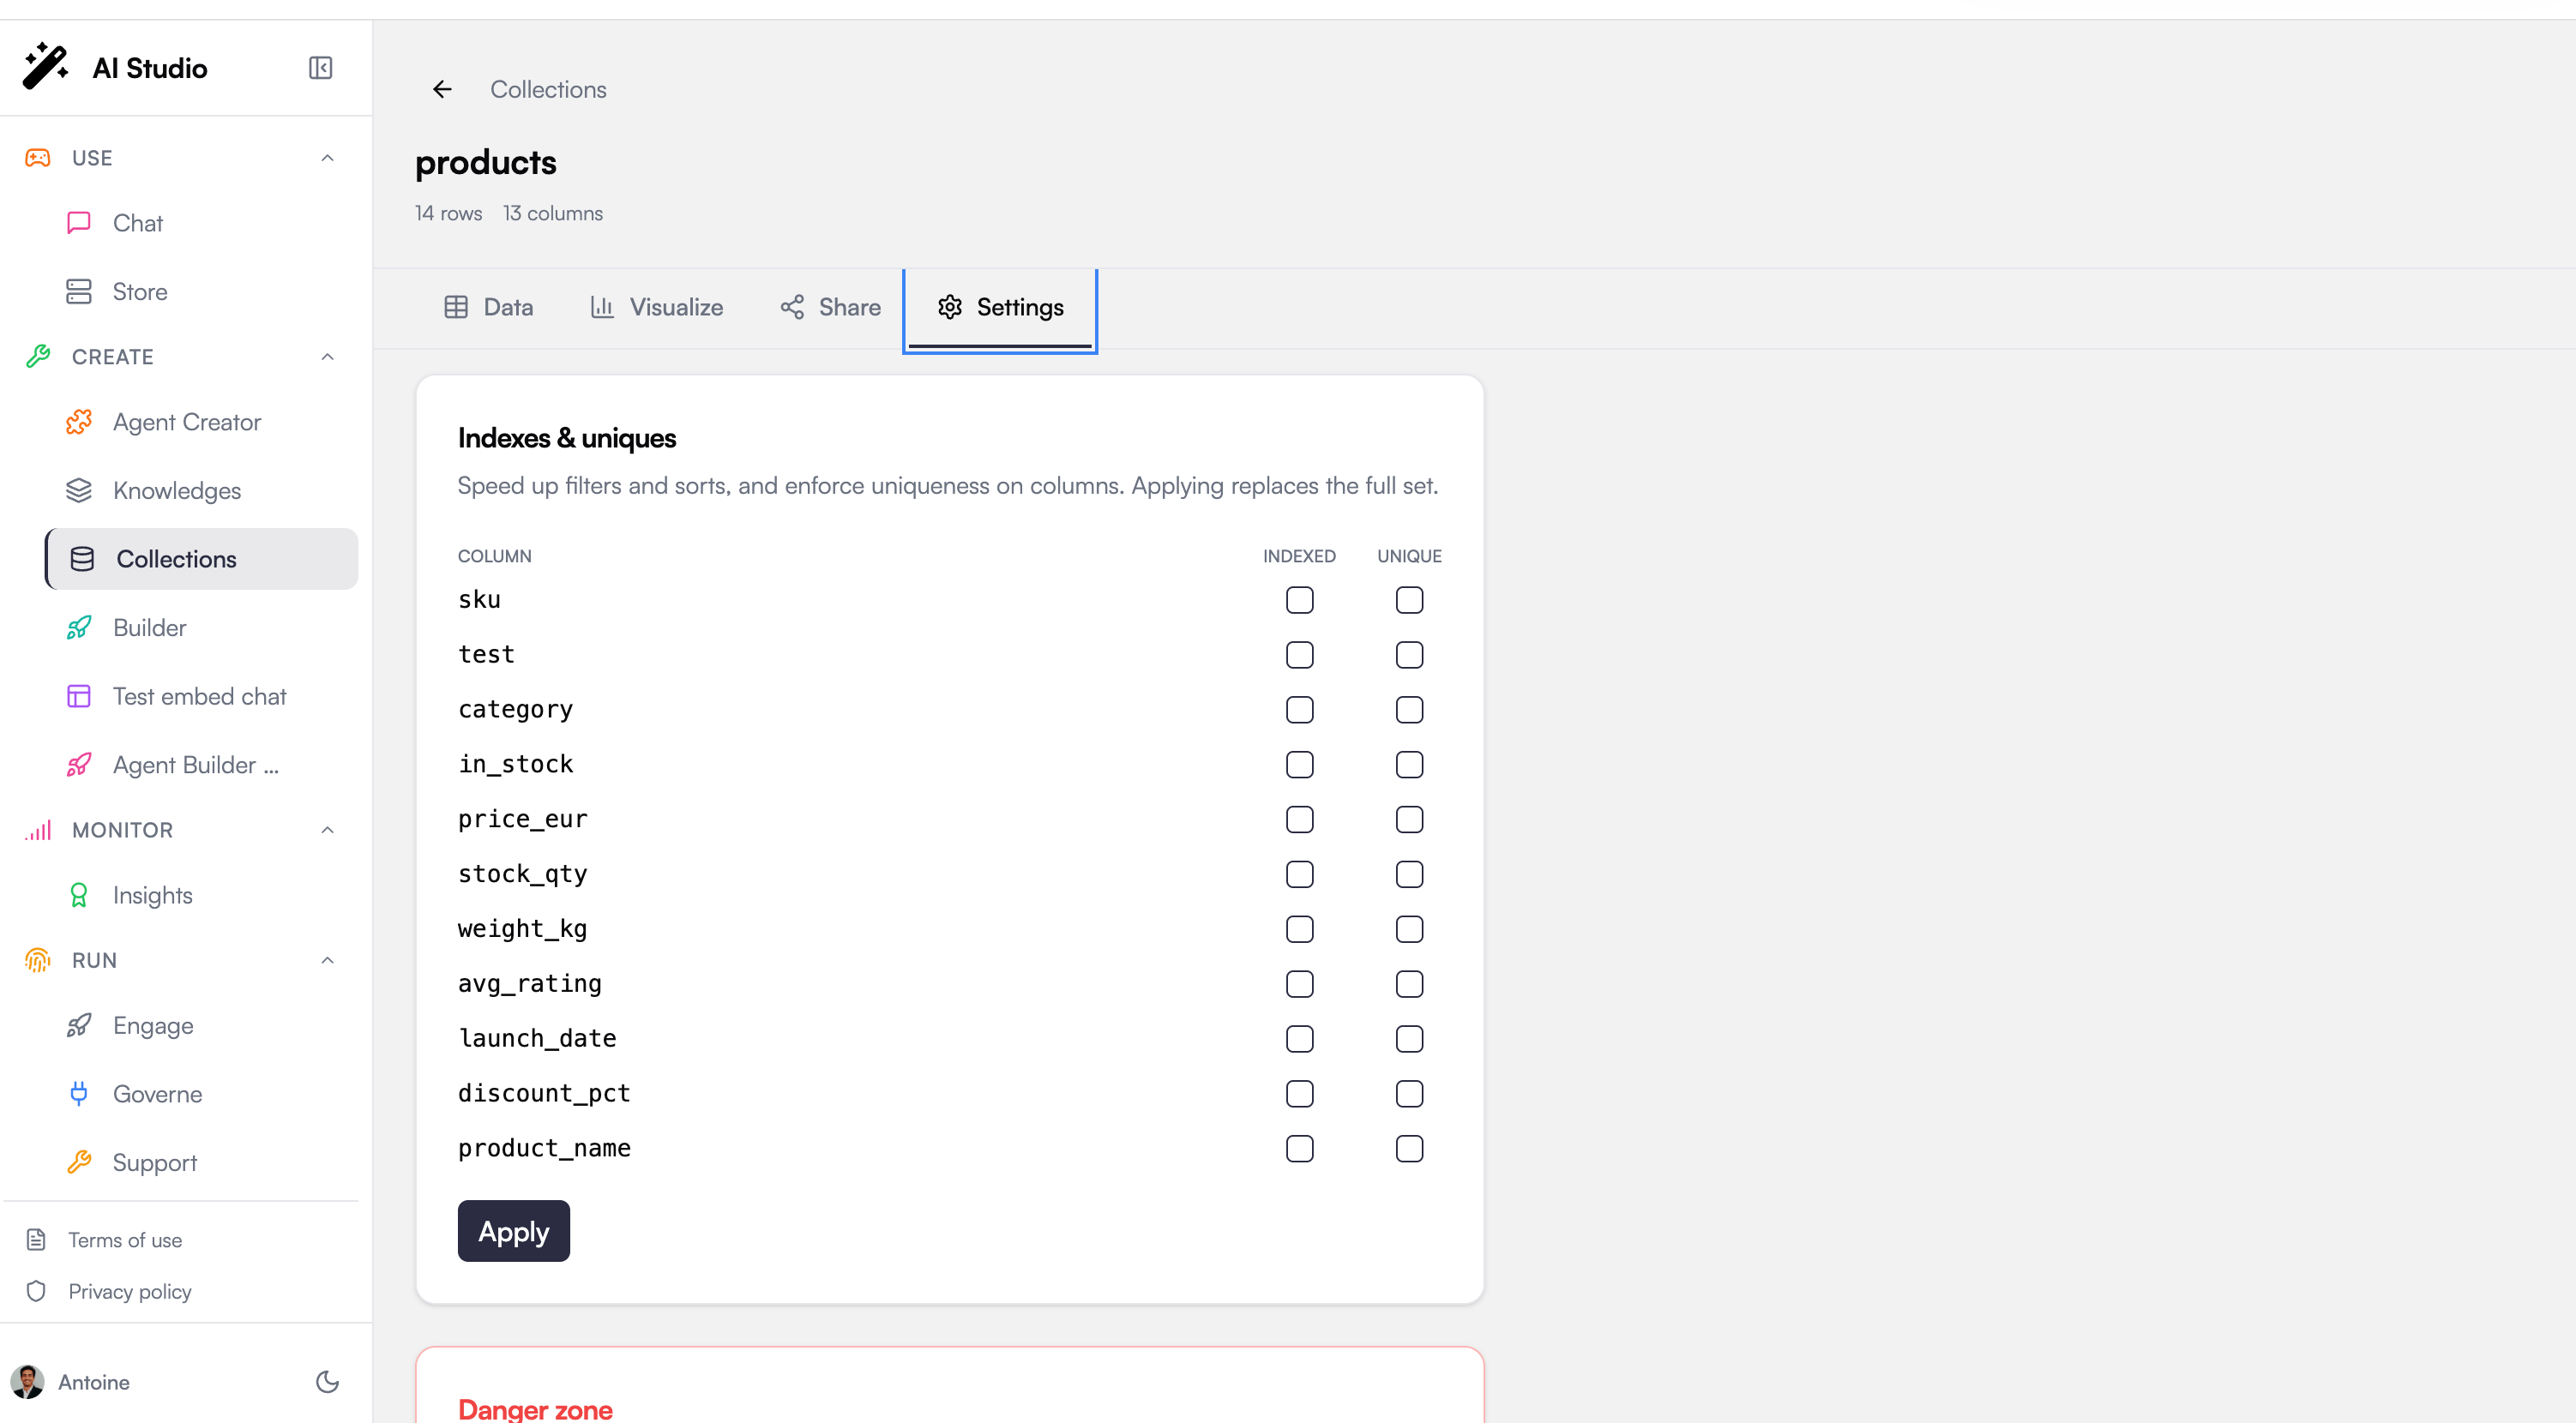
- Collection name: rename the collection
- Export data: download all rows as CSV or JSON
- Endpoints: the per-collection MCP URL (to bind an agent to this collection) and REST endpoint, each copyable
- Indexes & uniques: for each column, toggle Indexed (faster filters and sorts) or Unique (enforce no duplicates), then Apply
- Danger zone: delete the collection (with typed confirmation)
Best Practices
One topic per collection
One topic per collection
Keep each collection focused on a single kind of record: deals, contacts, tickets. Mixed datasets are harder to query and produce confusing aggregations.
Write descriptions for your agents
Write descriptions for your agents
The description is visible to agents when they discover your collections. “Q3 2026 sales pipeline, one row per deal, amounts in EUR” tells an agent exactly how to use the data.
Prefer consistent column values
Prefer consistent column values
Aggregations group by exact values. “In Progress”, “in progress”, and “In-Progress” become three different groups, so normalize your categories before importing.
Clean up unused collections
Clean up unused collections
Old collections still appear in agent tool listings. Deleting stale datasets keeps agent behavior predictable.
Next Steps
Importing Data
Upload a CSV with automatic schema detection
Working with Data
Browse, sort, and manage records