When to use it
| Use Custom Code for | Stick with native instructions for |
|---|---|
| Multi-step data transforms (parsing, normalising, aggregating) | Simple set / fetch / condition flows |
| Regex, hashing, signature verification | Calling another automation or app instruction |
| Computing dynamic values (HMAC, JWT, dates) | Reading from Collections or Secrets — use the dedicated modules |
| Wrapping a third-party library that’s whitelisted in your runtime | One-line transforms (use expressions) |
Custom Code runs inside Prisme.ai’s runtime sandbox with CPU/memory/time limits and a curated allowlist of libraries. It’s not a place to spin up long-running processes or shell commands.
Step 1 — Install the Custom Code app in your workspace
- Open your workspace in Builder.
- Go to Imports in the left navigation.
- Click Install an App.
- Search for Custom Code and install it.
Custom Code.run instruction you can use anywhere in your automations, plus a configuration panel where you declare your functions.

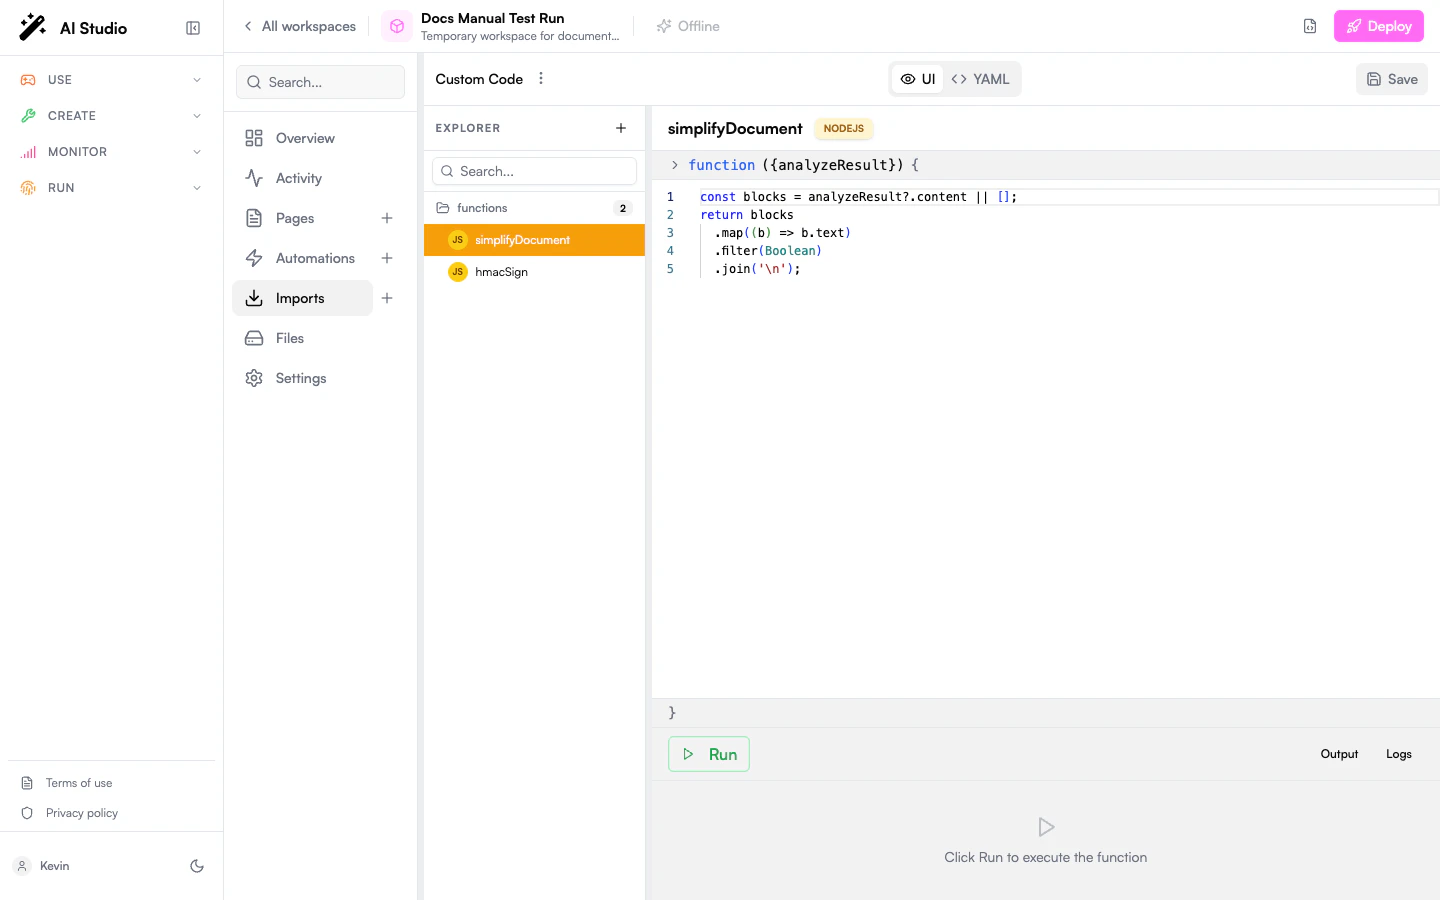
Step 2 — Declare a function
Open the Custom Code app’s Configure panel. You’ll see afunctions map. Each entry is one named function with three pieces:
| Field | Description |
|---|---|
| Function name | The slug you’ll call from automations (e.g. simplifyDocument). |
| Language | nodejs (default) or python. |
| Parameters | A JSON-Schema-like object describing the inputs — used to generate the form fields when calling the function. |
| Code | The function body. Parameters are available as named variables; return the value you want to expose to the automation. |
Step 3 — Call the function from an automation
Use theCustom Code.run instruction. Pass the function name, the parameters object, and capture the return value via output:
parameters object must match the schema you declared in step 2. Anything you return from the function becomes the value of the output variable.
Inline Python (no app config required)
TheCustom Code.run instruction also accepts an inline code field for Python only — handy for one-shot logic you don’t want to register globally:
Step 4 — Handle errors
Custom Code raises just like any other instruction. UseonError to control the failure path:
onError | Behaviour |
|---|---|
break | Stops the automation and surfaces the error (default) |
emit | Emits an error event but the automation continues |
continue | Returns the error object as the output and continues |
try/catch block at the YAML level if you need to recover gracefully:
Step 5 — Debug
When something misbehaves:- Open Activity for the automation — every
Custom Code.runcall is logged with its inputs and the returned value (or error stack). - Add
console.log(...)(Node.js) orprint(...)(Python) inside the function. Output is captured in the activity log. - If a library you expected isn’t available, check with your platform admin — the allowed list is configured per organization.

Common patterns
Format a date or compute a duration
Format a date or compute a duration
Validate or sign a webhook
Validate or sign a webhook
Reshape a nested API response
Reshape a nested API response
Quick stats with Python
Quick stats with Python
Limits and constraints
- Execution time — capped per call; long-running jobs should be broken into automations or moved to a dedicated worker.
- Memory & CPU — bounded; don’t try to process gigabytes of data inline.
- Network — outbound HTTP follows the platform’s network policy. Prefer the
fetchinstruction at the YAML level for clarity and observability. - Filesystem — sandboxed; no persistent local files. Use Collections or the Files API for storage.
- Libraries — only the libraries explicitly allowed by your organization are available. Check the Custom Code reference for the default list.
Next steps
Custom Code reference
Full reference: libraries, deeper examples, security considerations.
Automations
The instruction set Custom Code plugs into.
Custom tools for agents
Wrap your automation as a tool an agent can call.
Secrets module
Inject API keys and tokens without hard-coding them.